How To Setup A Skateboard | The Guide To Building Your Board
Putting together a skateboard is a pretty straightforward process, but it requires some time. Many skateboarders prefer to assemble their own boards because it allows them to have a closer look at each component and fine-tune them according to their preferences. Assuming that you’ve already put the griptape on your skateboard, we’ll dive into the process of how to set up a skateboard in 4 steps, broken down to teach you everything you need to know.
These are the steps to setting up a skateboard
Step 3: Insert the Bearings into the Wheels
Step 1: Gather Materials
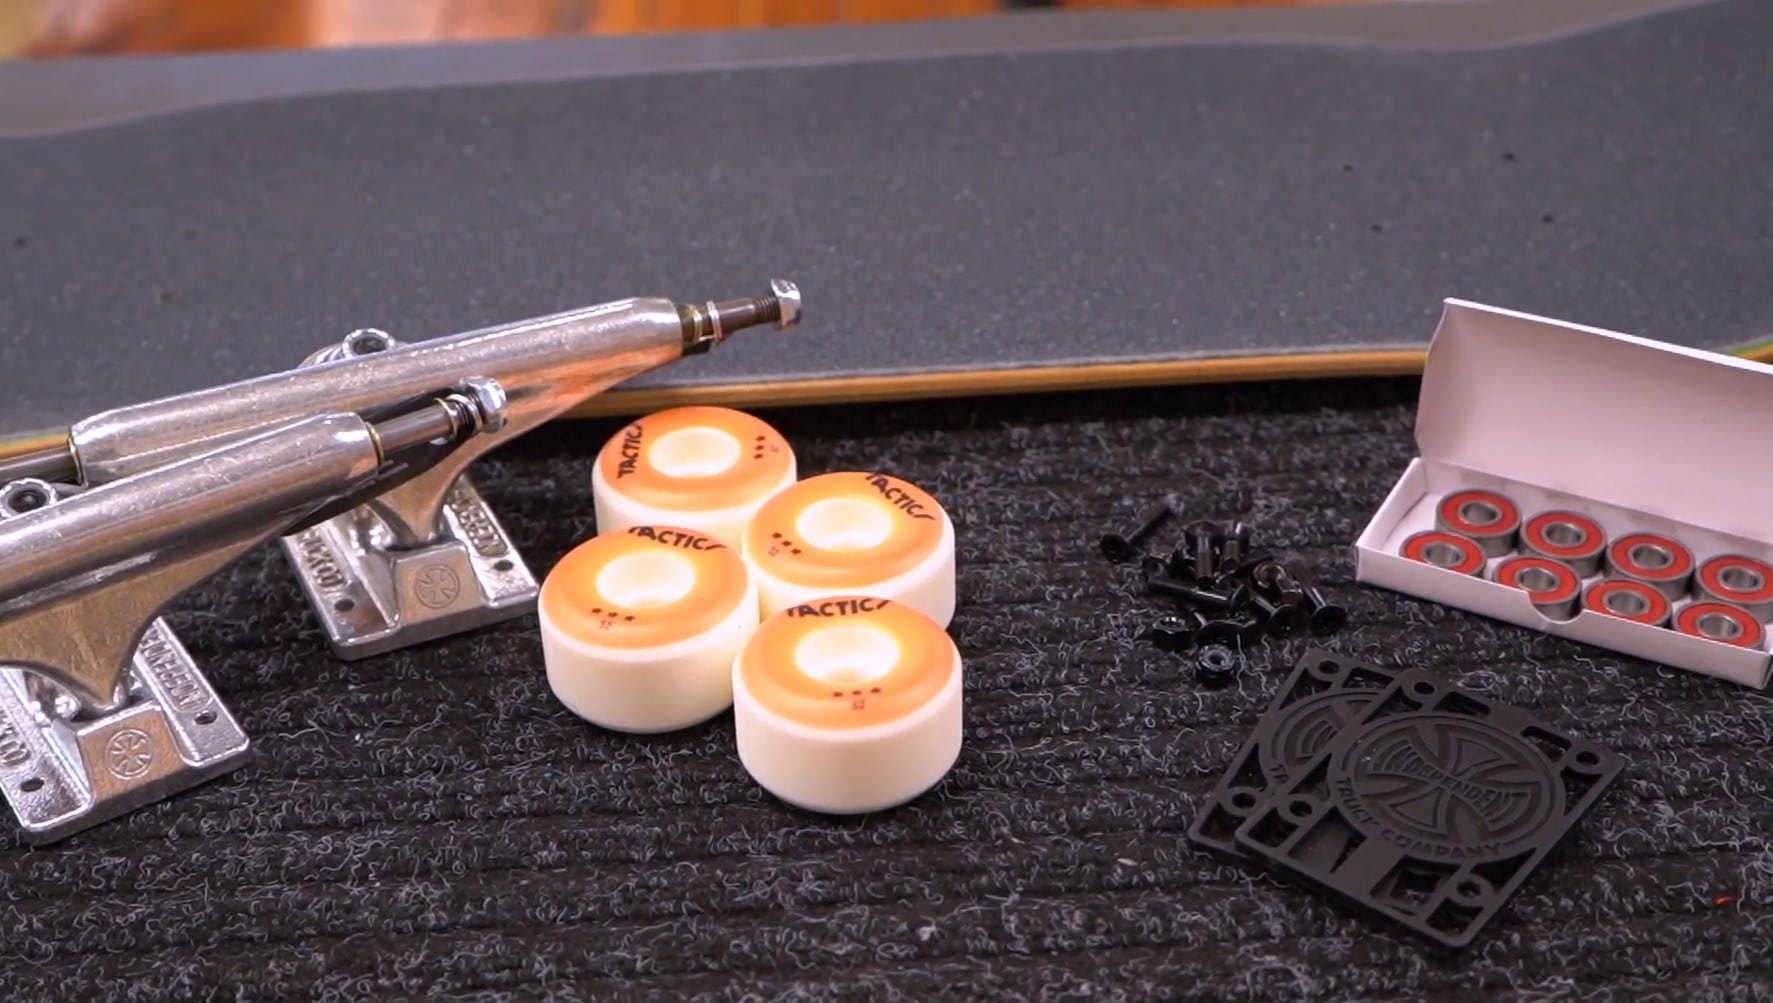
Here is what you will need
- Skateboard Deck- If your deck still needs griptape, consult this article on how to apply griptape.
- Trucks - A pair of trucks to grind & act as your axel. If you need to know how to pick them go here.
- Hardware - Eight screws, eight corresponding nuts, eight axle washers, and four lock nuts.
- Wheels - You'll need 4 wheels that should all be the same; don’t mix and match.
- Bearings - Two bearings fit inside each wheel, for a total of eight bearings.
- Riser Pads- Using riser pads is optional, if you want them you need 2.
- Skate Tool - Skate tools typically have a socket and screwdriver that works for each type of hardware.
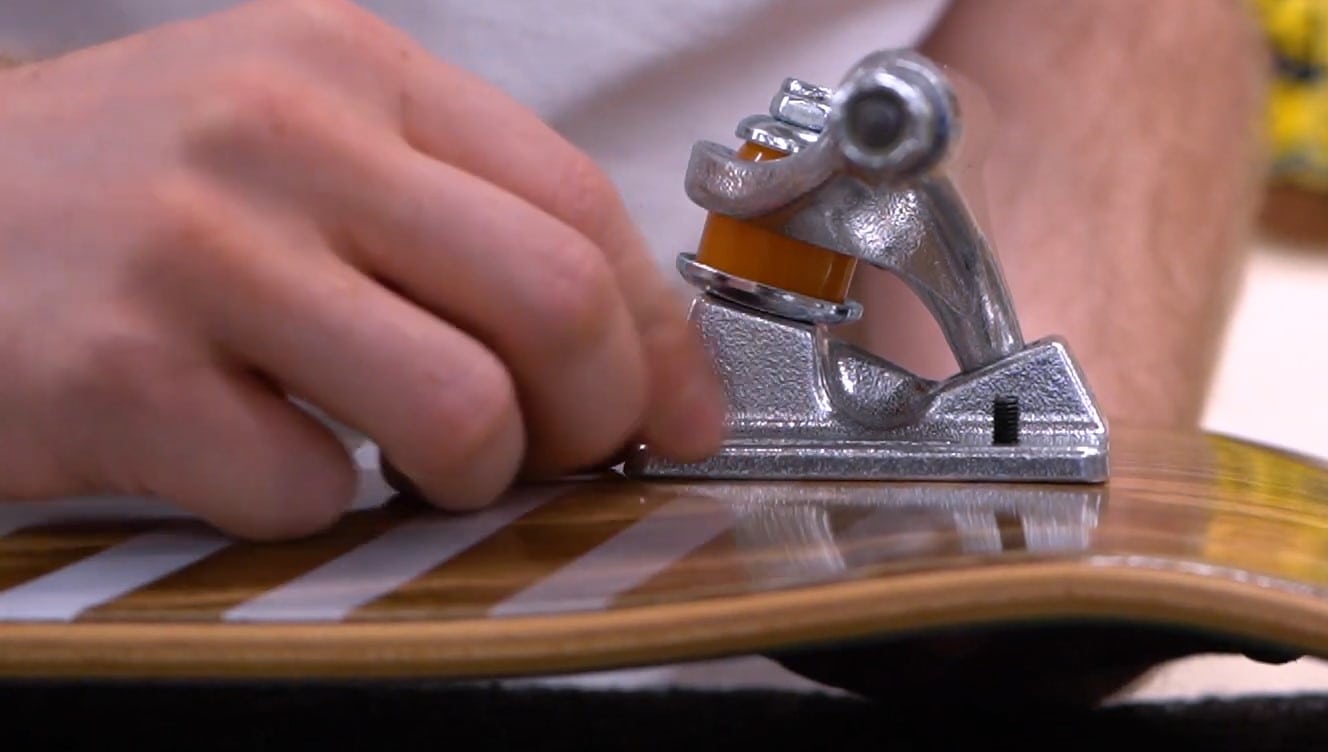
The next step is to mount your trucks
- Carefully use a screwdriver to poke holes through the griptape where the screw holes of your skateboard deck are.
- Insert all eight screws into the holes and then carefully flip the deck so the bottom side is facing up.
- If using risers, place them between the deck and the baseplate before sliding the trucks onto the screws through the baseplate.
- Ensure the trucks are oriented with the kingpins and bushings facing each other.
- Loosely hold the trucks in place with nuts and use a skate tool or adjustable wrench to tighten the screws in a "crisscross" pattern.
Once both trucks are secured, go to the next step.
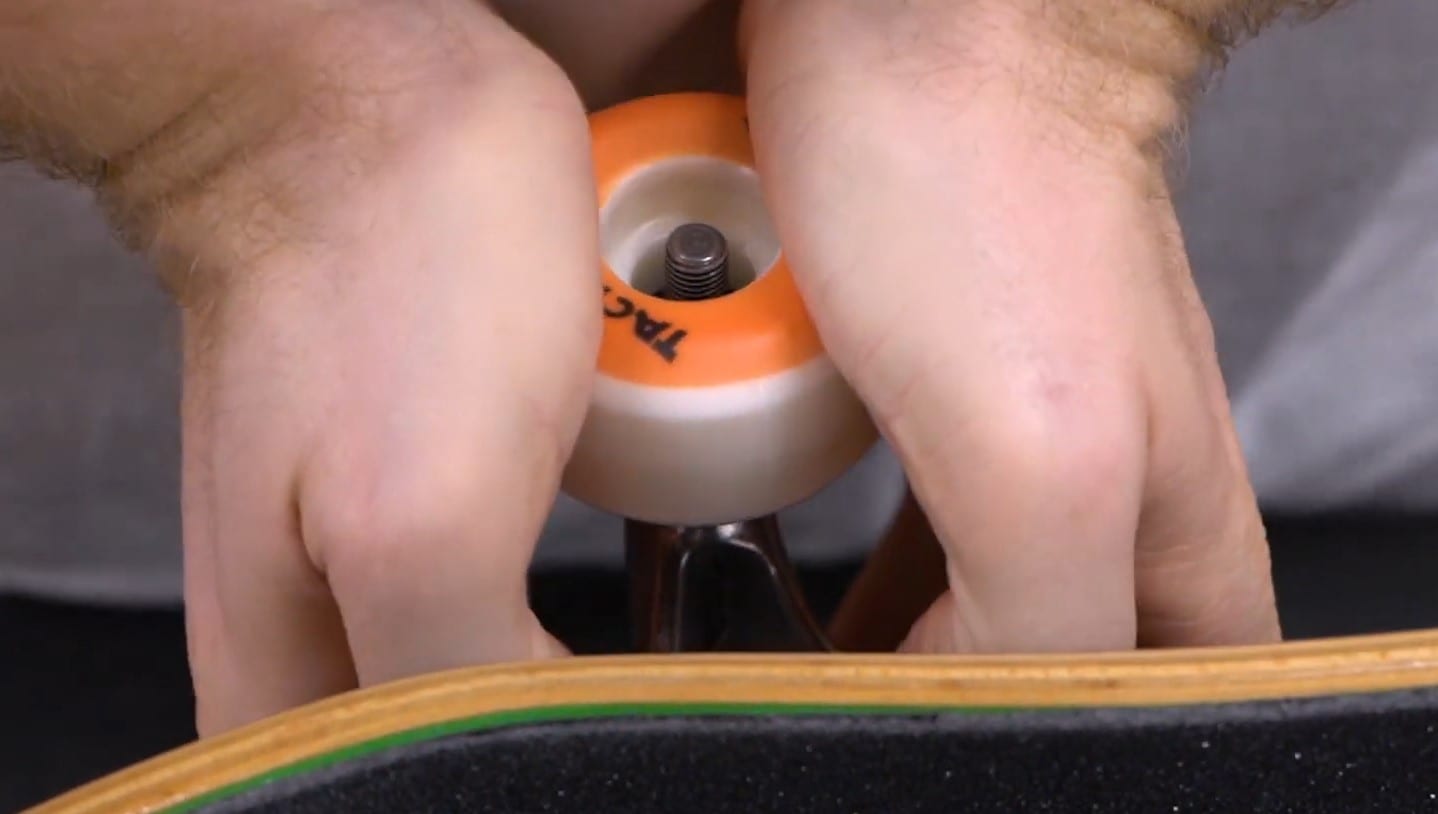
Next, let's Insert the bearings
- Tilt your skateboard to the side, placing a bearing onto an upward-facing axle.
- Place two bearings with their shields down onto your trucks.
- Slide on a wheel and use firm & consistent downward pressure to force the bearing into the wheel socket until it clicks into place. Repeat this process with the other side of the wheel. *Be careful not to bend or dent your bearing shields
- Repeat this process for the remaining three wheels.
Now you're ready for the last step.
Step 4: Attach The Wheels To The Trucks
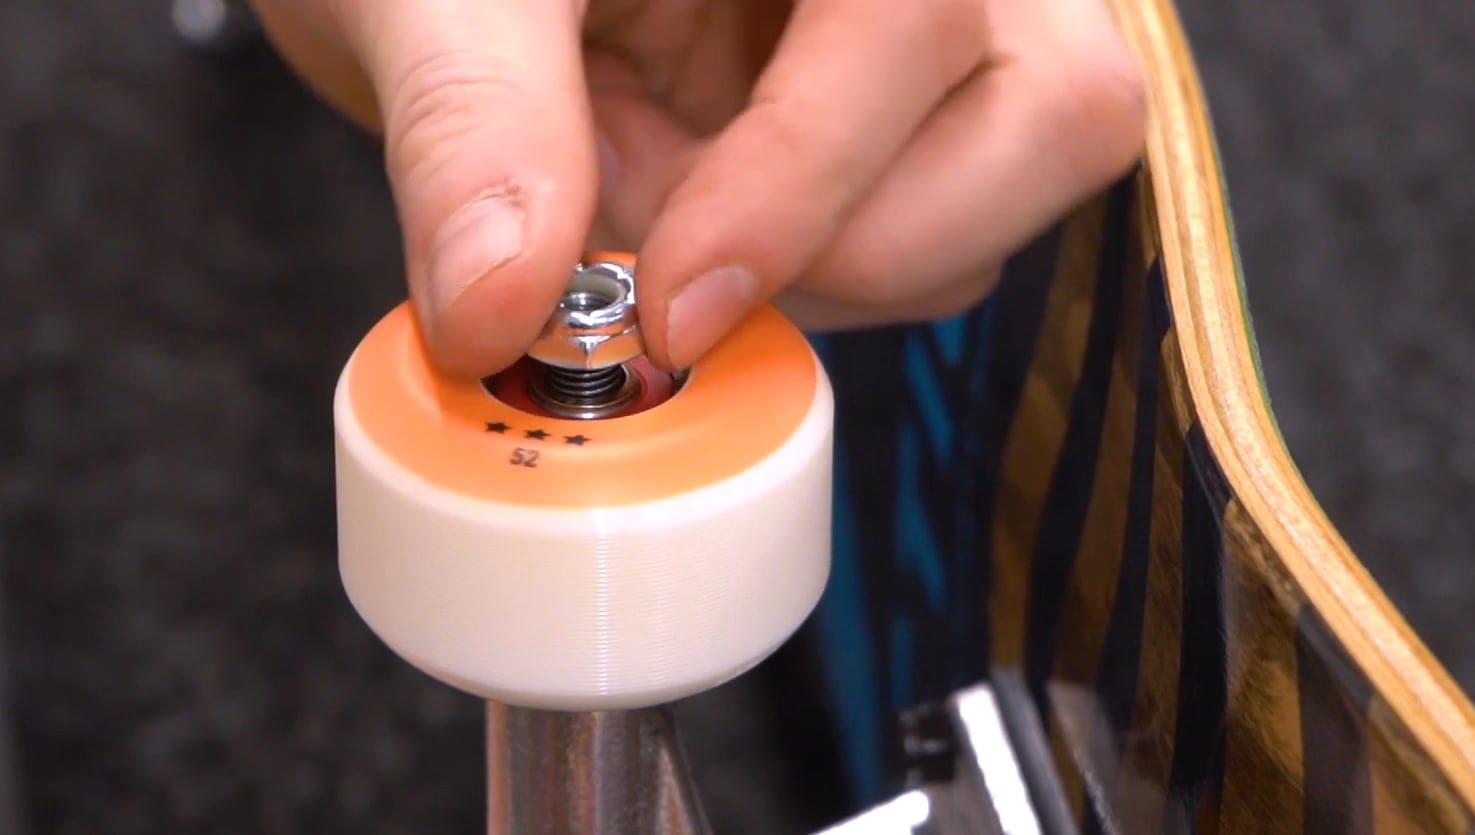
Finally, grab your wheels, washers & lock-nuts
- To attach each wheel, slide on a speed washer, followed by the wheel with bearings inserted, and then add the second washer.
- Secure this entire arrangement of parts by screwing on the lock nut.
- Repeat this process on the other side of the board after attaching the wheels on one side.
- Your board is now ready to ride. However, inspect it thoroughly to ensure everything is in order, checking for any loose hardware.
Now go skate!
More Skateboarding