How to Set Up Your Snowboard
Putting your new bindings on can feel like a daunting task with the seemingly endless list of stance, width, & angle options to choose from. If you are new to snowboarding and need a little help learning how to put bindings onto a snowboard you have come to the right place. Our team of snowboarding specialists has put together this video and article to help you out! Click play above or scroll down and explore our guide.
Here are the steps we will cover in this guide:
Step 1: Finding out if you are Regular or Goofy-footed
Step 2: Finding your stance width
Step 3: Where to place your bindings
Step 5: Mounting your bindings
Extra Credit: Adjusting your binding settings
Step 1: Find out if you are Regular or Goofy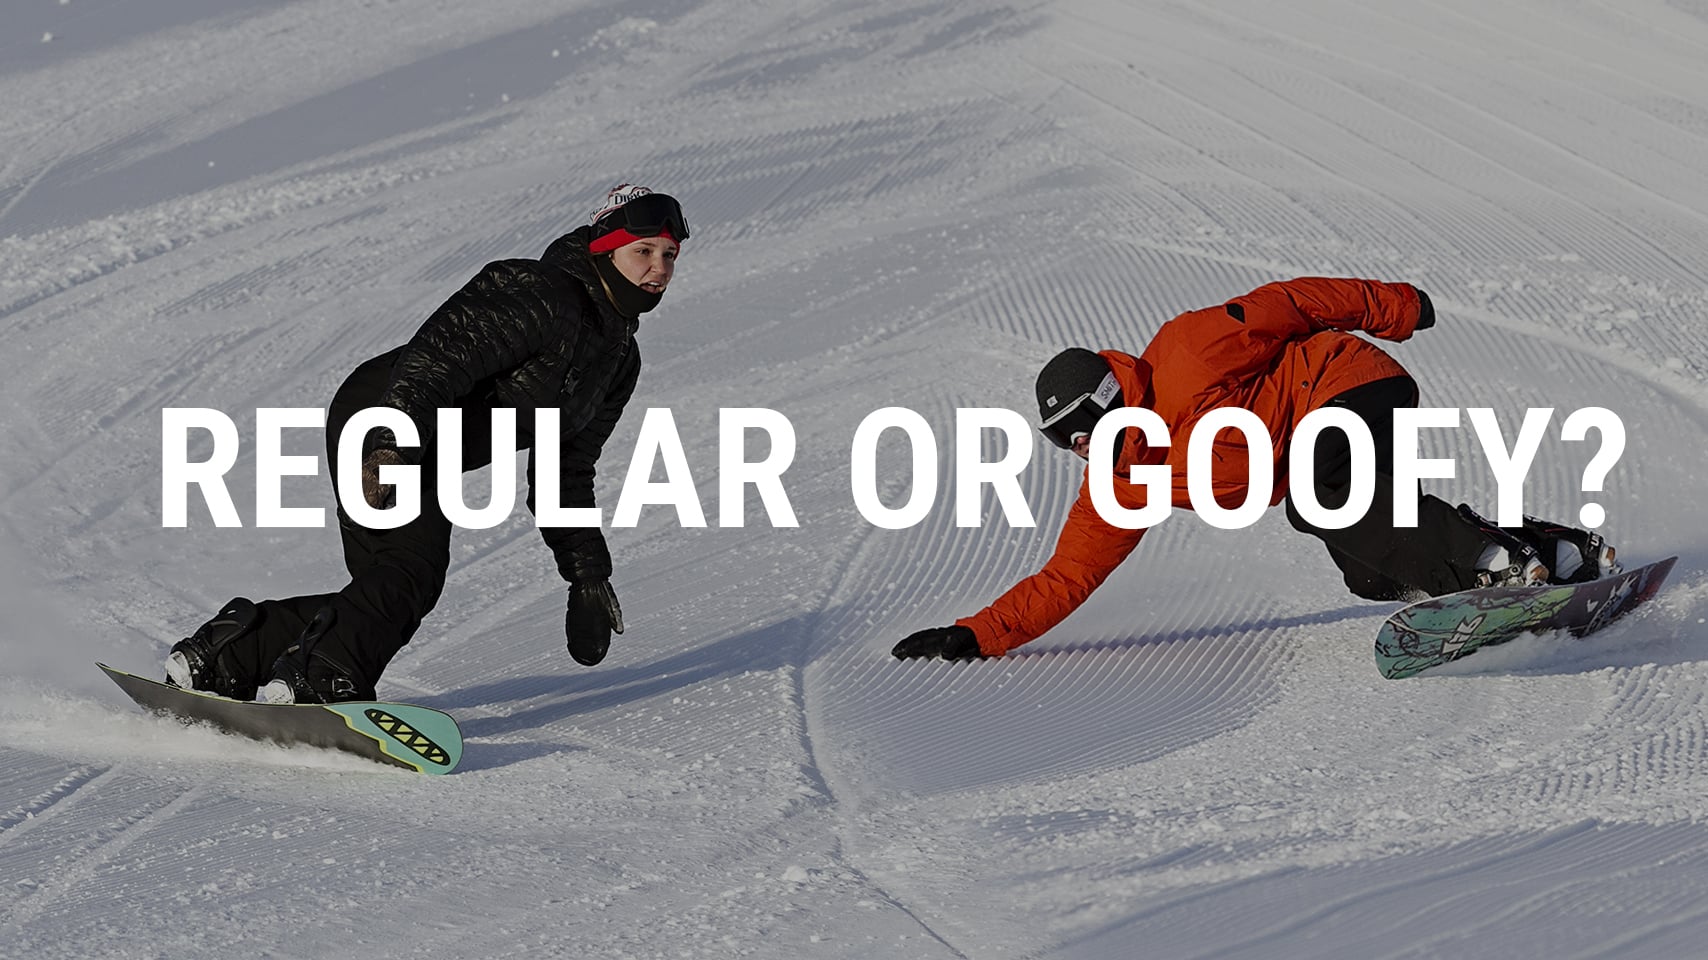
Before you go ahead and throw your bindings on your snowboard, you should know what stance you are. There are 2 snowboard stance options, and it all comes down to what foot you lead with & you are probably thinking “How do I know what stance I am?”
Regular stance: Left foot forward, Right foot back
Goofy Stance: Right foot forward, Left foot back
There are a few different ways to determine what stance you are in, but the easiest way is to stand in a relaxed position with your feet shoulder distance apart and have someone push you from behind… The foot that you catch your balance with / goes forward will be your lead food and in turn, determines your stance.
If that result is inconclusive for you, another fun way to test this is if you were wearing socks and were to slide on a hardwood floor, what foot would you lead with? That should give you your answer. But don’t be afraid to try a different stance direction if you end up on the mountain and you feel like you should ride the other way, in the end, it's all personal preference, and after reading this article you should be able to swap your bindings around real quick
Step 2: Finding your stance width
Now that you've sorted out if you are a regular or goofy stance on your board, it's time to find that sweet spot for your stance width and then your angles. This step and the next are highly correlated so keep reading to get dialed.
When it comes to your stance width, remember that there's no one-size-fits-all rule here. The key is to find what feels comfortable for you. Many snowboards come with reference points marked on the top sheet to give you a starting point, but in the end, it's all about your comfort.
To help you figure it out, start by standing in a power stance, where your knees are just outside your shoulders. This stance should give you great balance and it should feel powerful for jumping into the air. Once you've found a width that feels right for you, measure the distance between your feet, starting at the center of each foot. You'll use this measurement when setting up your bindings on your board.
If you're not sure where to begin, check out the table Above. It suggests a stance distance based on your height, which can be a helpful starting point
| Height (in feet) | Width (in inches) |
|---|---|
| < 5'1" | 17-18" |
| 5'2" to 5'4" | 18-19" |
| 5'5" to 5'8" | 19-20" |
| 5'9" to 6' | 20-21" |
| > 6' | 22-23" |
Step 3: Binding Placement
Now that you've got your stance sorted out, it's time to figure out where your bindings should go. The right spot for your bindings can vary a bit depending on whether you're riding a twin, directional, or asymmetric snowboard. To make life easy, you'll want to check out the "Recommended Stance" markings on the top of your board when setting up your bindings.
Here are your options for stance placements:
Centered Stance: This is when your bindings sit right in the middle, symmetrically placed between the nose and tail of your board. If you're just starting out or you're an advanced freestyle guru, a centered stance is your buddy. It gives you equal nose and tail lengths, which means maximum control. Plus, it's great for tricks and smooth switch riding.
Setback Stance: This one's a bit different. In a "Setback Stance," your bindings are shifted toward the tail of the board, not exactly right in the middle. If you love shredding powder and want less fatigue, this is your jam. It can also give you some extra oomph when making those hardpack turns. Loads of advanced free-riders and all-mountain freestylers swear by this binding placement.
*Note you never want to have your bindings mounted closer to the nose than the tail
If you're scratching your head, wondering what kind of board you have, don't worry! You can take a peek at our guide called "Snowboard Shapes - Explained" for some handy assistance.
Step 4: Pick Your Binding Angles
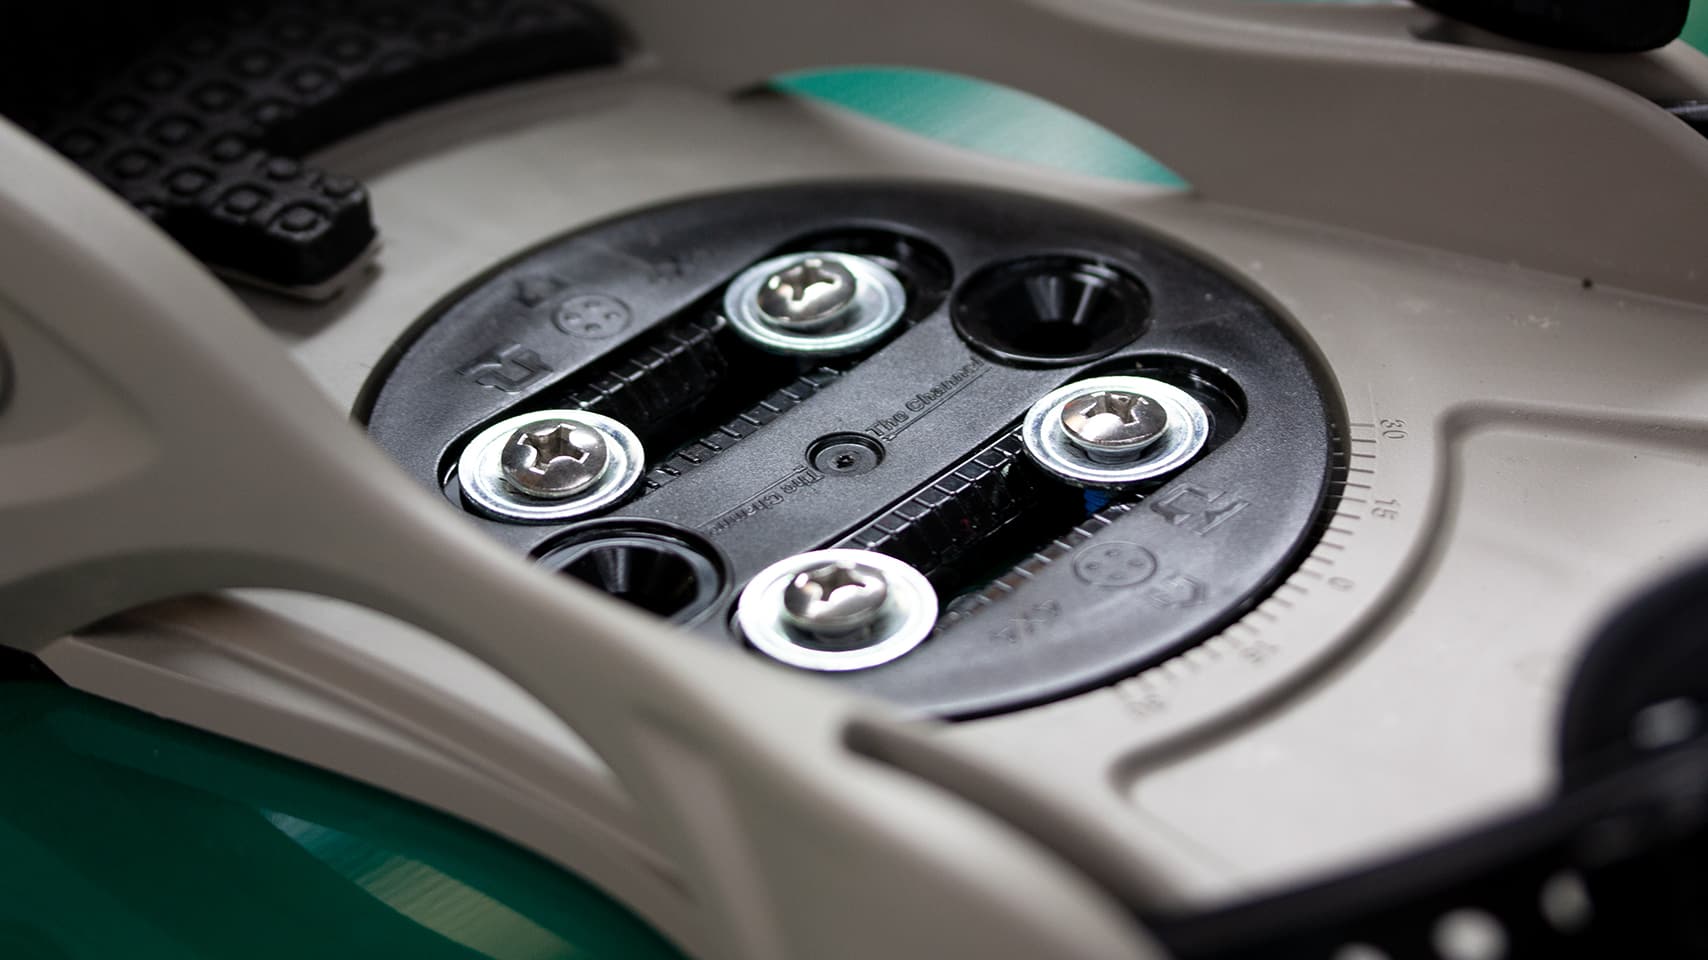
Now that you've established your stance width, the next step is configuring your binding angle – a pivotal element for long-lasting comfort while riding. Failing to set the right angles can lead to unnecessary and often painful stress on your calves and knees, ultimately diminishing the enjoyment of your snowboarding days.
To adjust your binding angle, focus on the mounting disc situated at the center of your binding. On the binding baseplate, where the disc slots into place, you'll notice dash marks with numerical values every fifth mark. These dash marks indicate your angles. Simply position the disc with the indicator arrows aligned to your desired angle and secure the entire assembly onto your snowboard. It's vital to ensure you've accurately measured your width and setback to guarantee proper placement.
Different snowboarding styles require distinct stance setups:
All-Mountain Stance: Ideal for riding across various terrains, providing stability for carving, navigating rough conditions, gliding on smooth groomers, and even catching air. This stance typically involves a slight directional bias, with front foot angles ranging from +15 degrees to +12 degrees and back foot angles spanning from 0 degrees to -5 degrees.
"Duck" Stance: Frequently favored by park and freestyle riders who desire equal comfort riding in both regular and switch stances. This setup, as the name suggests, positions your feet slightly angled away from each other. Common angles for a duck stance fall in the range of +10 to +15 degrees for the front foot and -10 to -15 degrees for the back foot.
Directional Stance: Some freeride or all-mountain riders opt for having both feet angled toward the front of the board, which enhances carving on groomed slopes. However, this stance may not be well-suited for rough terrain or catching air, as it restricts hip movement in a single direction.
Remember that even minor adjustments can significantly impact how your board feels and responds. There is no universally superior way to configure your stance, as it's a matter of personal comfort and preference. Nonetheless, it's advisable not to exceed -15 degrees on your back foot, as it could strain your knee. Ultimately, finding the right stance is a personalized journey, and what works for one person may not necessarily suit another.
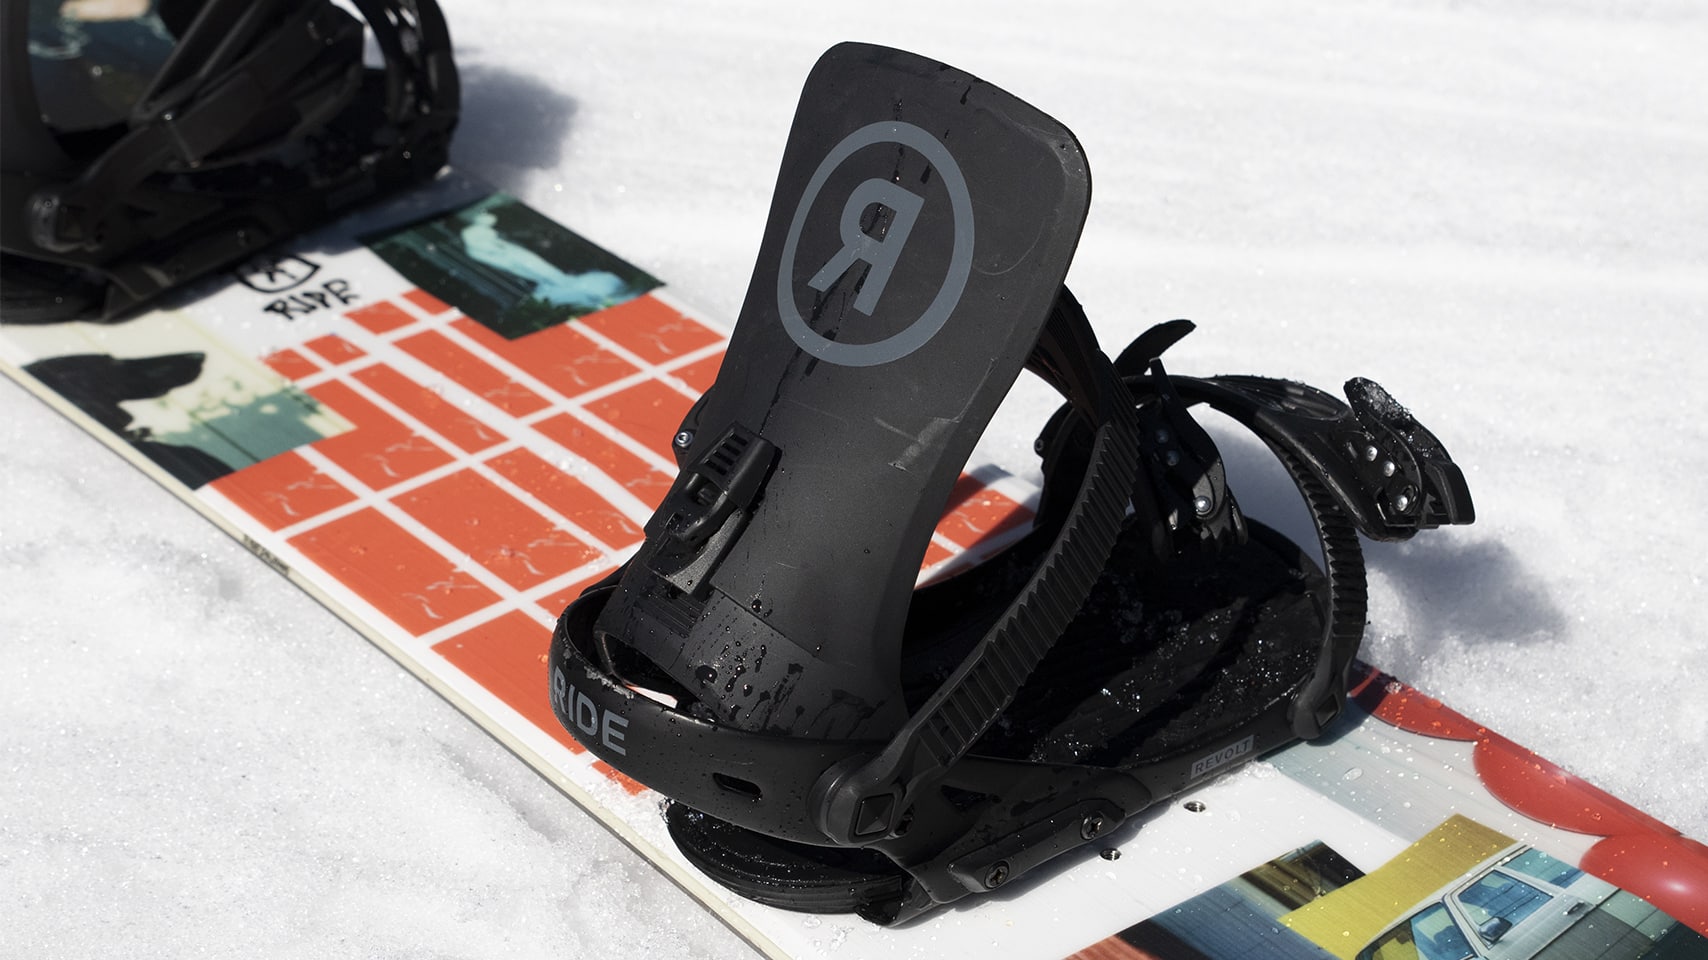
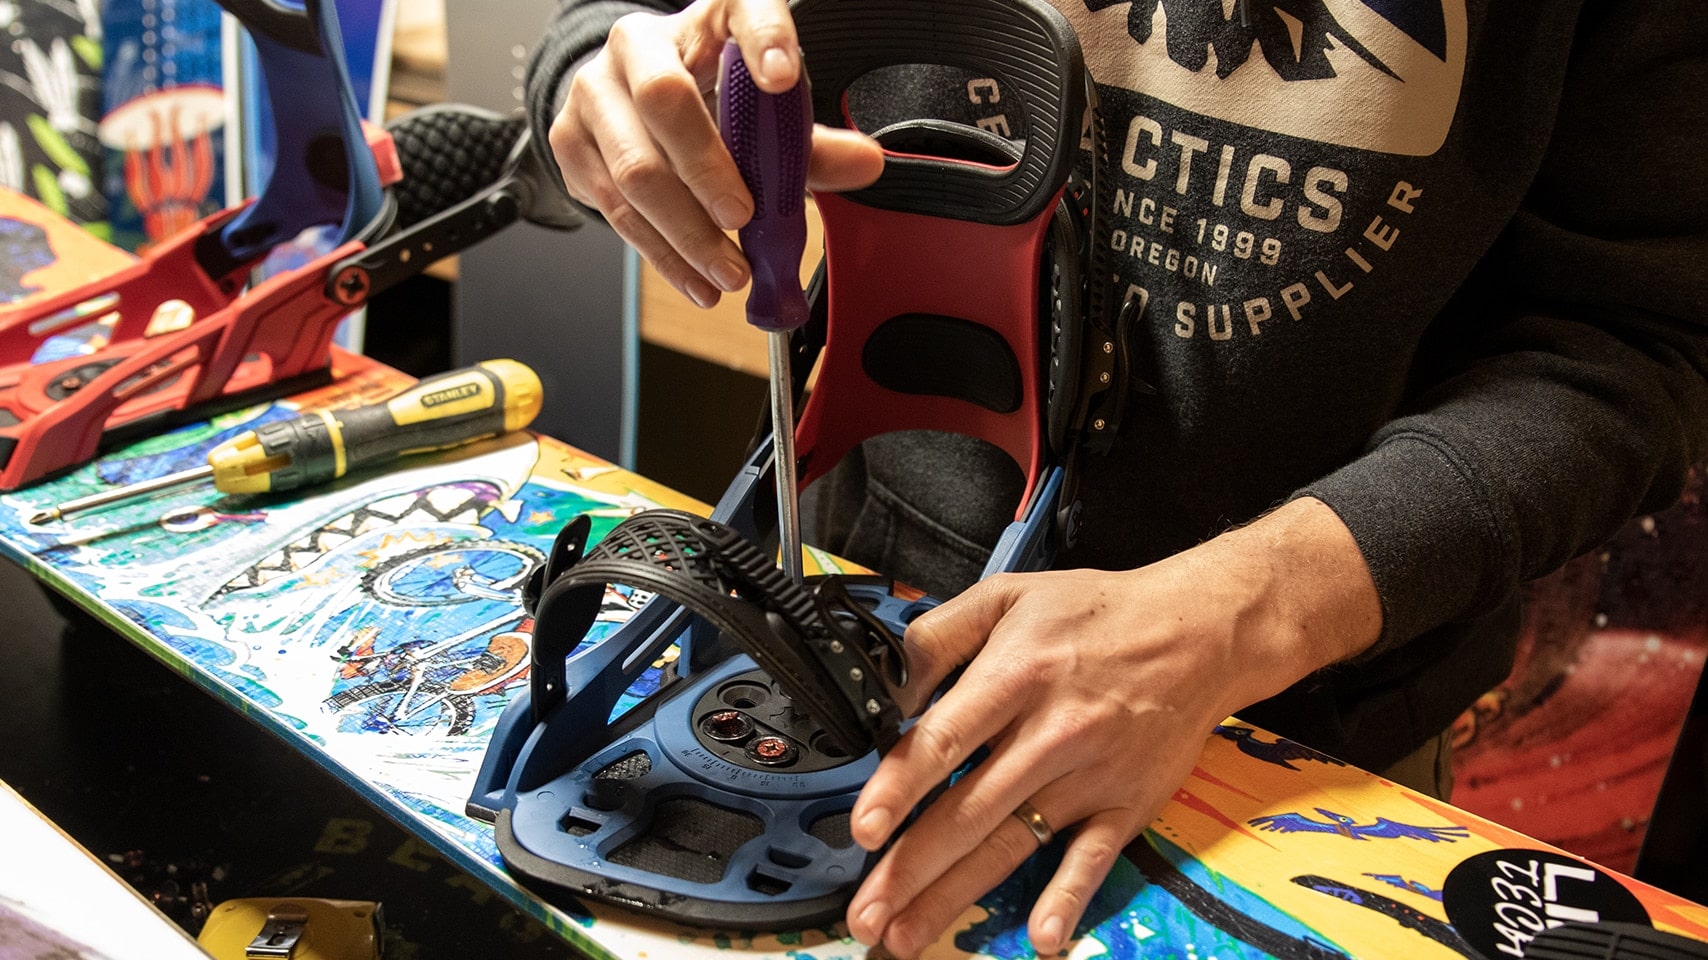
Step 5: Mount Your Bindings

Our final step, Once you've determined your binding placement, it's time to secure them to the board. Start by grabbing a screwdriver, screws and align the baseplate holes with the inserts that best correspond to your chosen stance width and angles.
Next, adjust your binding's position around the disc until you achieve the desired angle. Ensure that the base of your binding is centered evenly across the width of your board, without any overhang, and proceed to carefully fasten the bindings in place.
Important Note: It's crucial never to over-tighten the screws and avoid using bonding adhesives like Loctite. Doing so could potentially void your snowboard warranty.
In conclusion, mastering the art of putting bindings on a snowboard is a crucial step in customizing your ride for maximum comfort and performance. By determining your stance, binding placement, width, and angles, you can fine-tune your setup to suit your unique riding style. Whether you're a beginner or an experienced snowboarder, these steps provide a comprehensive guide to ensuring a seamless and enjoyable experience on the slopes. Remember, personal comfort and preference play a significant role in finding the perfect configuration, so don't hesitate to experiment and make adjustments until you achieve the ideal setup for your snowboarding.
Extra Credit: How to adjust your binding settings
HIGHBACK & FORWARD LEAN ADJUSTMENT
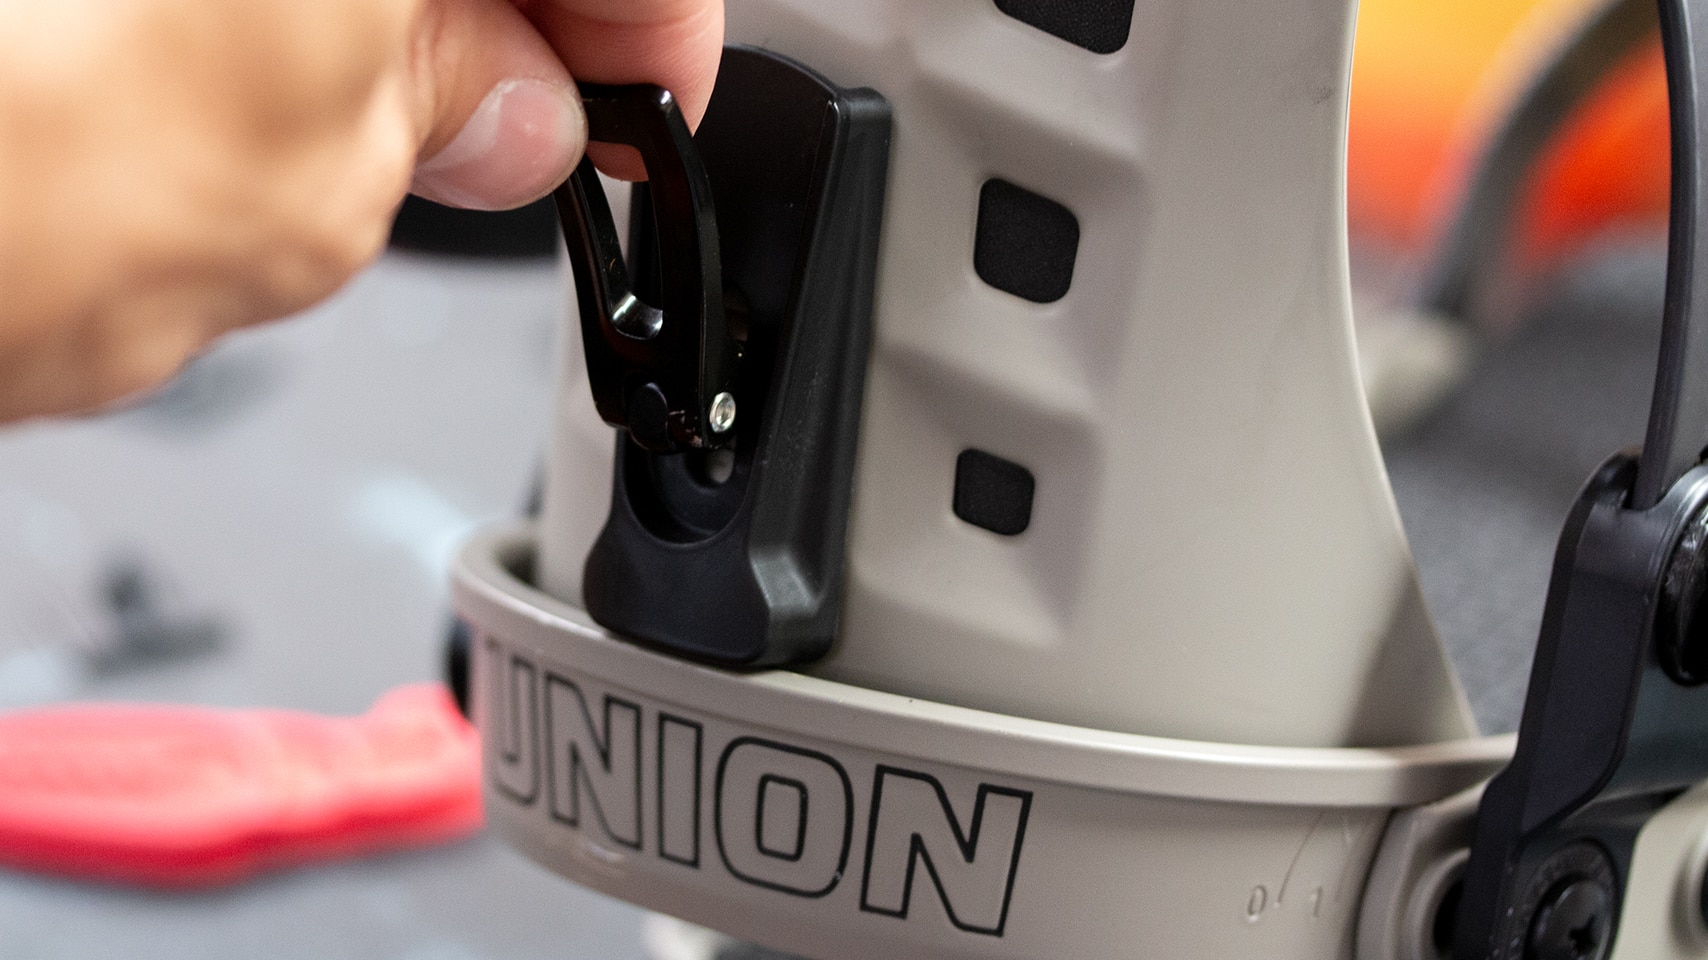
Now that you have your bindings mounted on the board, it’s time to adjust the bindings themselves. Adjusting the angle of the high back or "Forward Lean", will have a large impact not only on the way the board performs but on your body posture.
Angling your high back forward will force your knees to bend giving you a lower center of gravity and a more aggressive stance. This is great for half-pipe and big mountain riding because it provides better leverage and control for powering through turns. The drawback is that it restricts your leg movement, which makes it harder to catch yourself or make corrections when buttering a box or locking into a rail. Many urban and rail-oriented riders prefer to have their high backs pushed as far back as possible, while some big jump enthusiasts like to crank up the forward lean for edge control in the landings and take-off. As with everything else, it's all personal preference and you will have to do some experimenting and tinkering to figure out what works best for you.
TOE RAMP & FOOTBED ADJUSTMENT
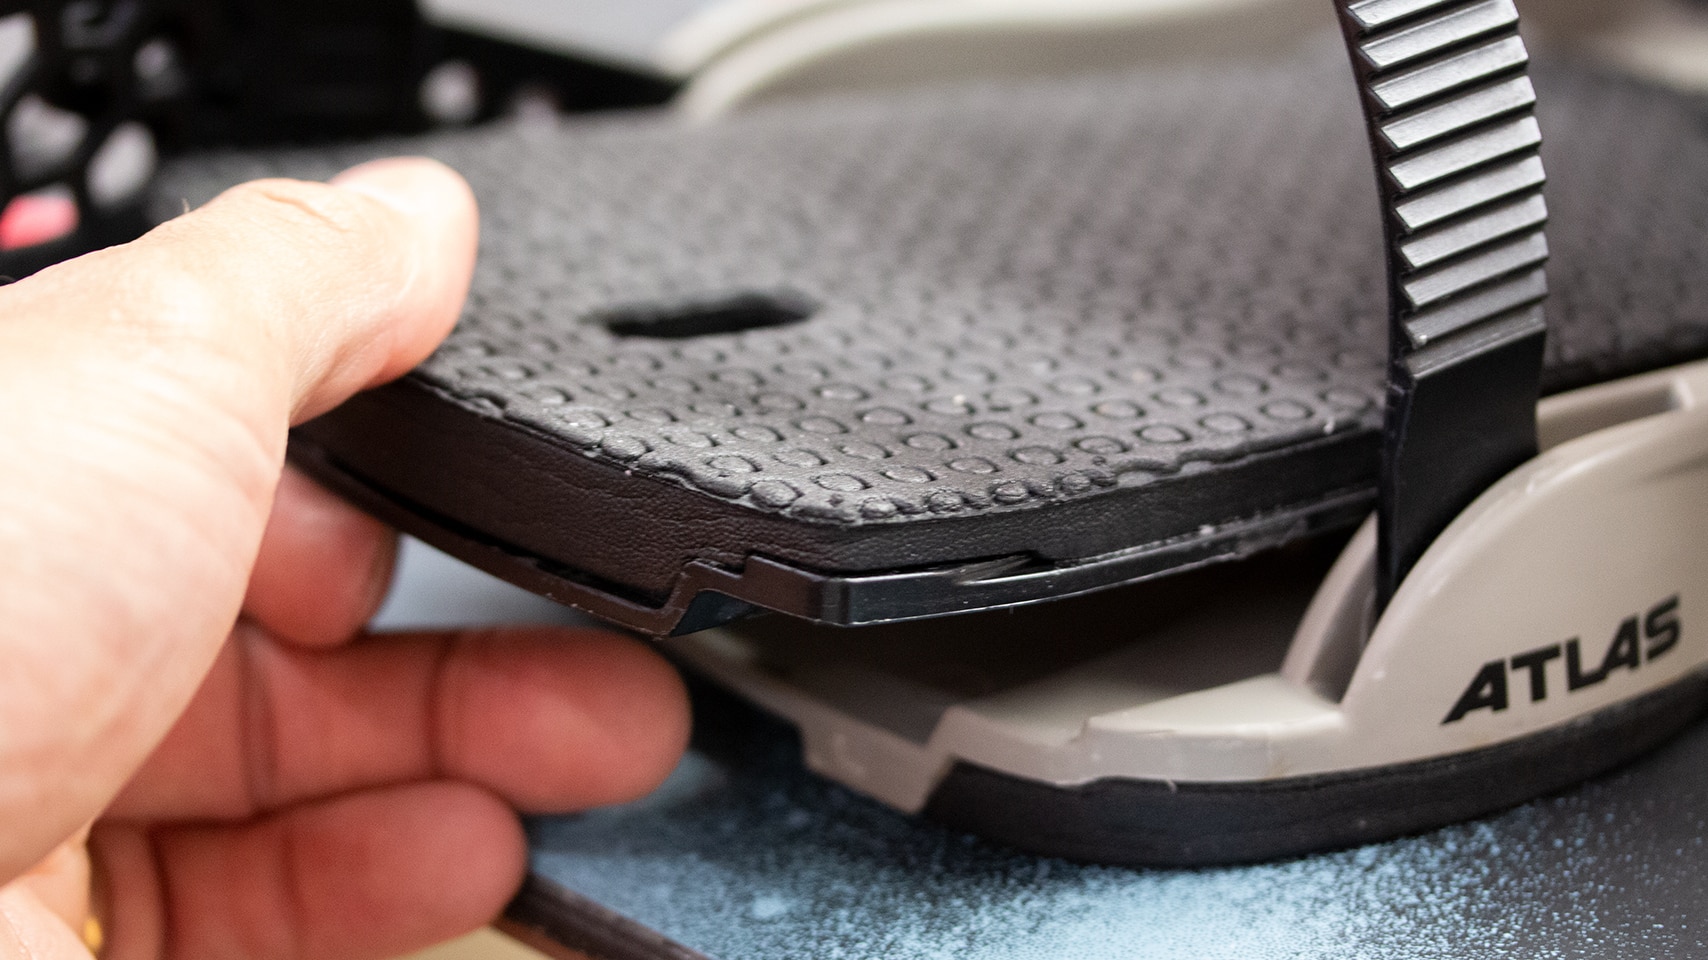
Some bindings may require adjusting the toe ramp/footbed to pair up with your boot size. If so, put your boot in the binding and adjust the toe ramp/footbed to line up with the edge of your toes. This will ensure you’re getting proper leverage when riding.
STRAP ADJUSTMENT
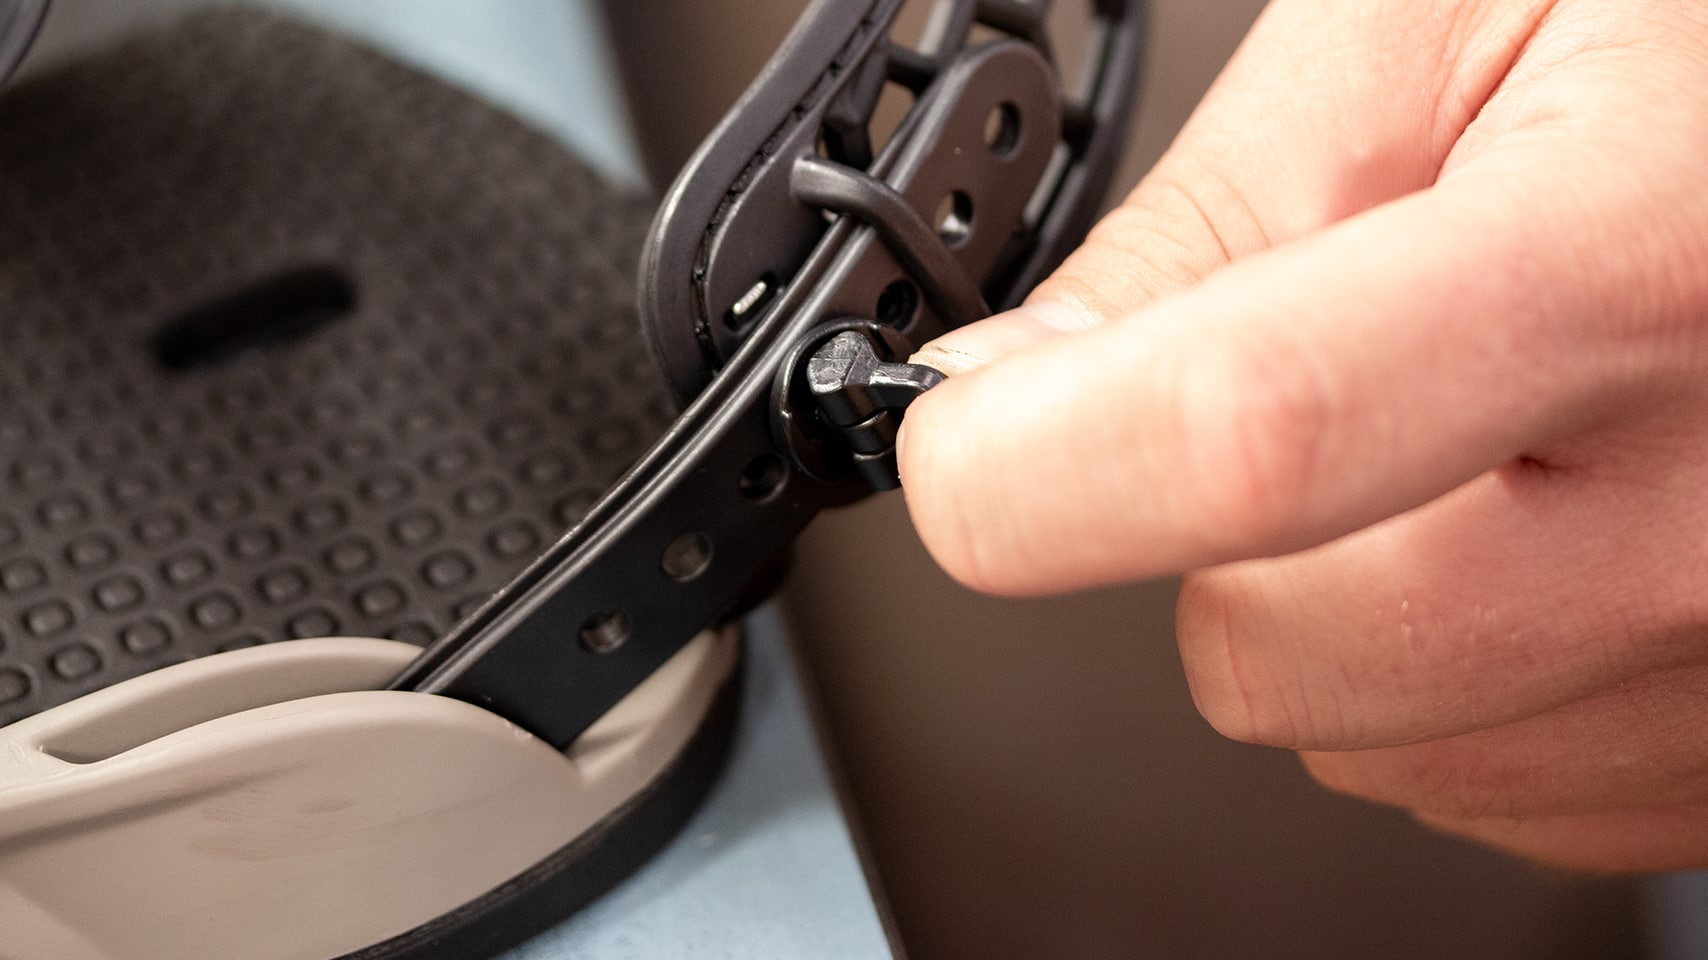
The last thing you will want to do is make sure your straps are adjusted properly to fit you boots. Place your boots in your bindings and make sure both the toe strap and the ankle strap can properly latch and tighten without causing you discomfort. You want the straps to be centered on your boot when fully tightened. This will help push your heel back into your binding’s heelcup for a secure fit and better leverage when turning.
Keep Learning More
Still Have Questions?
Do you still have some questions or need more information about snowboard gear? Well, we have the resources to ensure your questions get answered. Our knowledgeable customer service team has answers for any equipment questions; Give them a call or send them a message. If you are in the area, swing by your local shop in Portland, Eugene, and Bend and speak with one of our helpful retail employees.
Customer Service:
Call us toll-free at 888.450.5060
Text us at 888.450.5060
Monday - Friday, 8 a.m. - 6 p.m. Pacific Time
Saturday - Sunday, 9 a.m. - 5 p.m. Pacific Time
help@tactics.com


