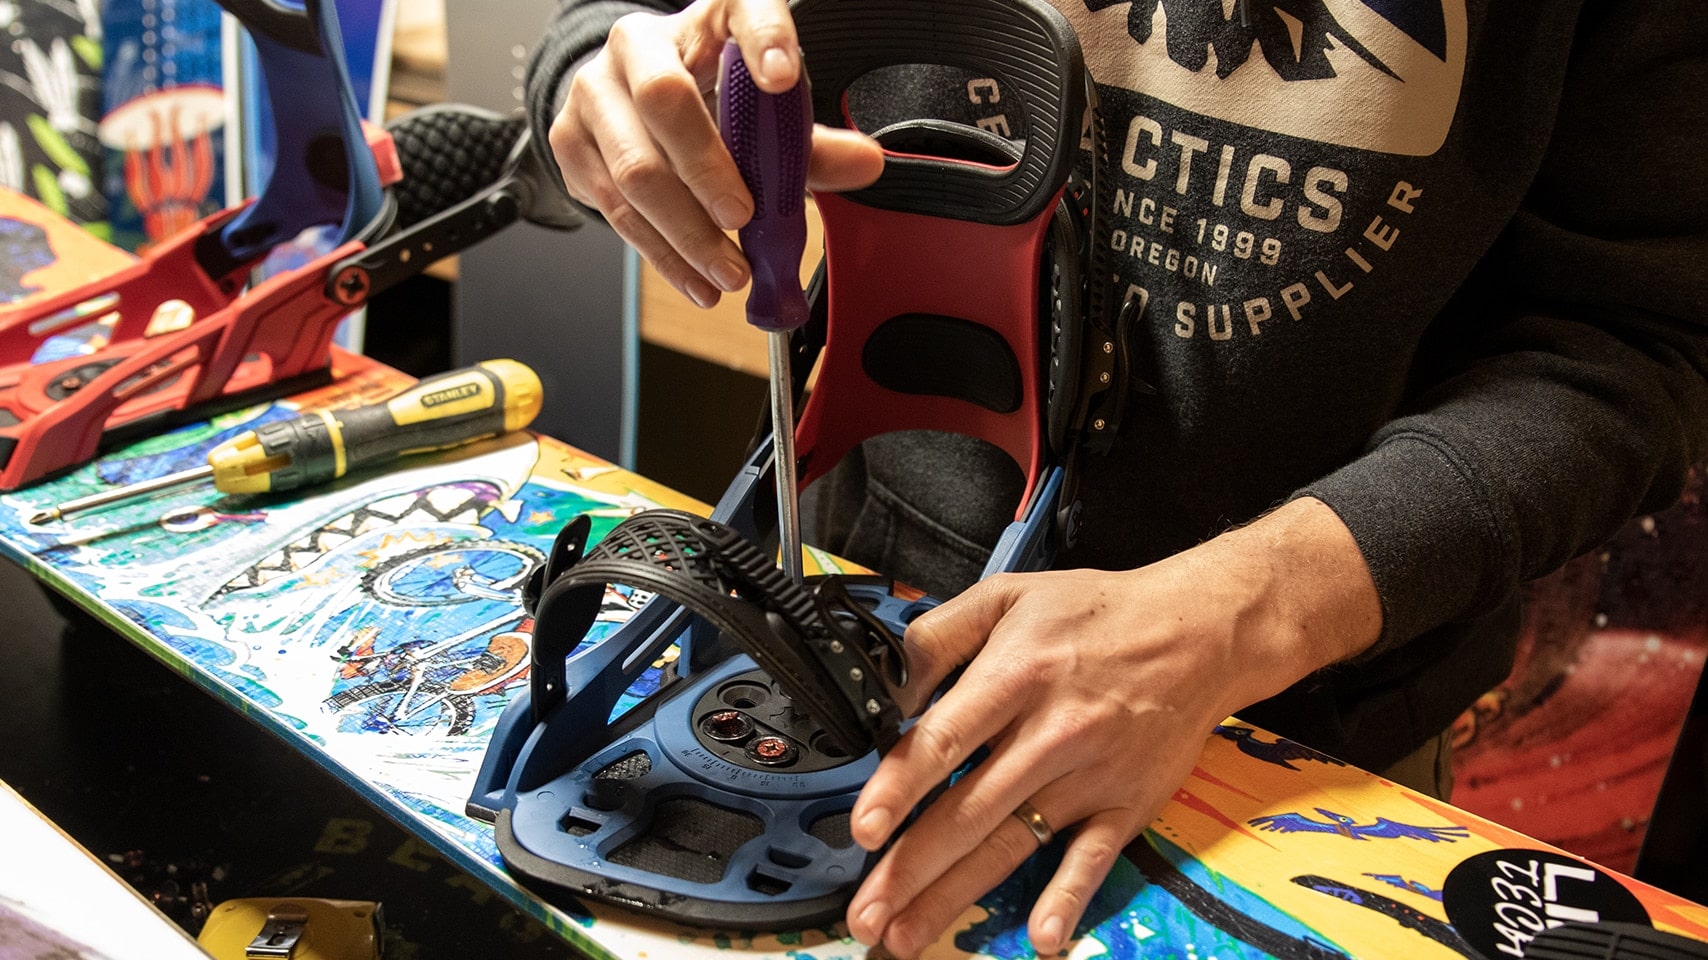
How To Wax A Snowboard
Owning wax supplies and waxing your own snowboard can save you time and money, and is a necessity for any passionate snowboarder.
So what exactly does waxing do for your snowboard? Wax increases the glide of the base, meaning your board will ride faster and smoother on the snow. The general census is to wax your board every two or three times you ride to reap the benefits. Waxing your board regularly also prolongs the durability of the board, meaning a longer-lasting investment.
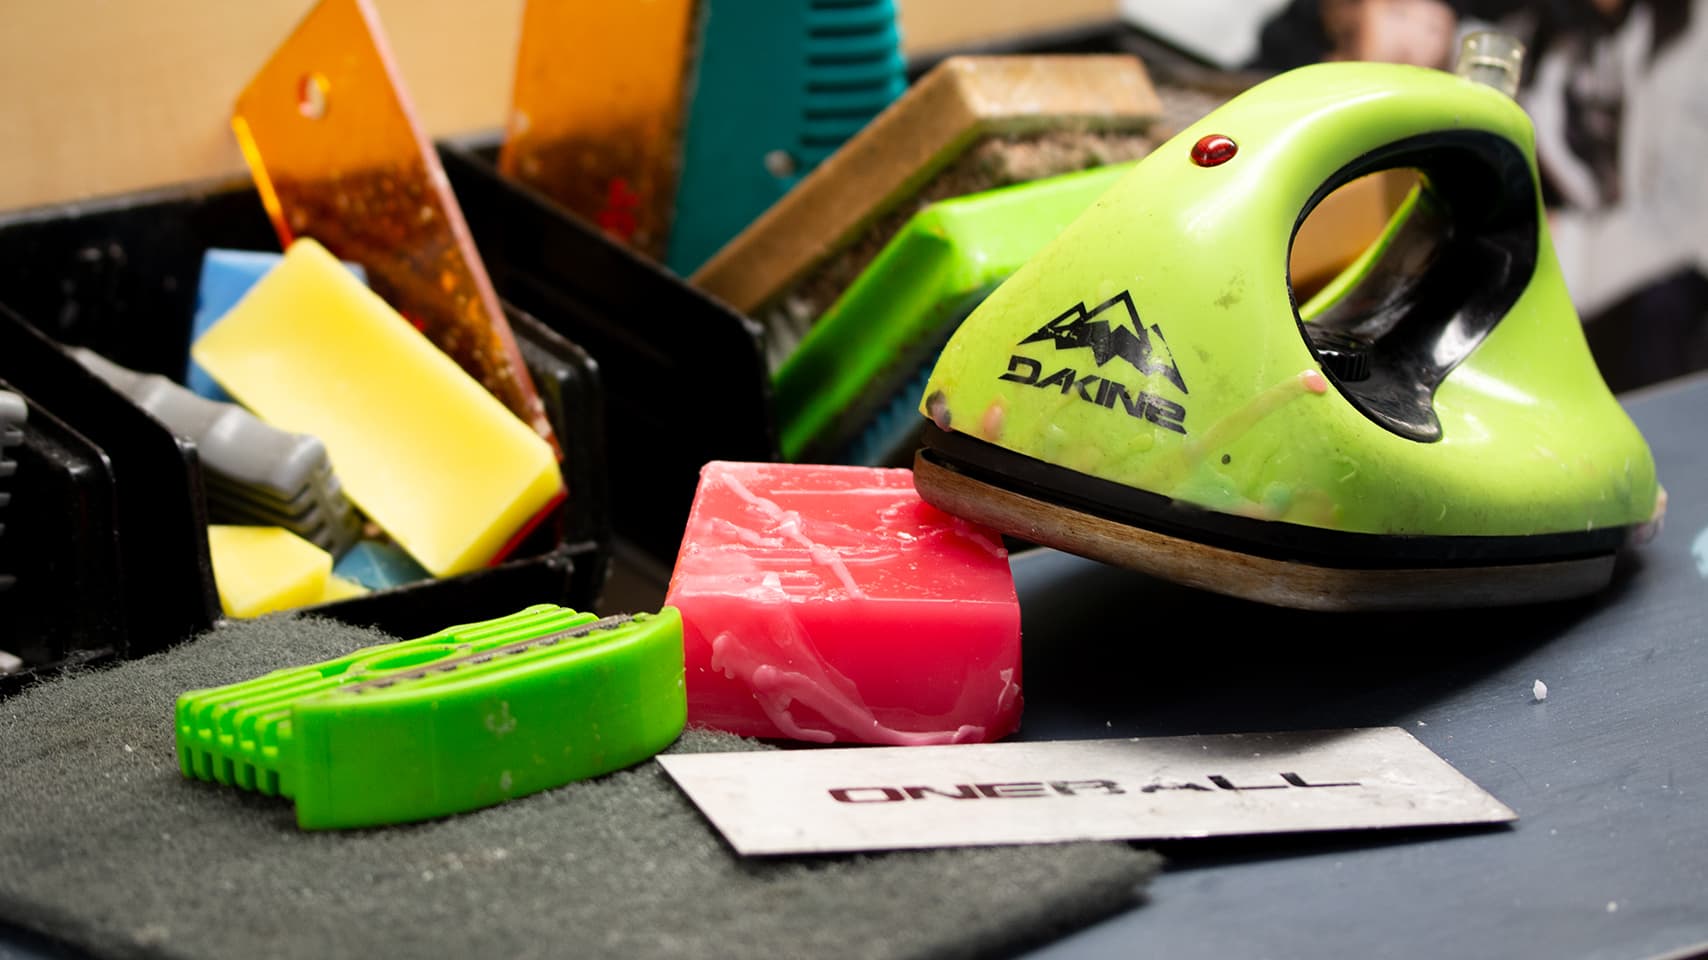
The basic items needed to wax your own snowboard are the following:
- Waxing Iron
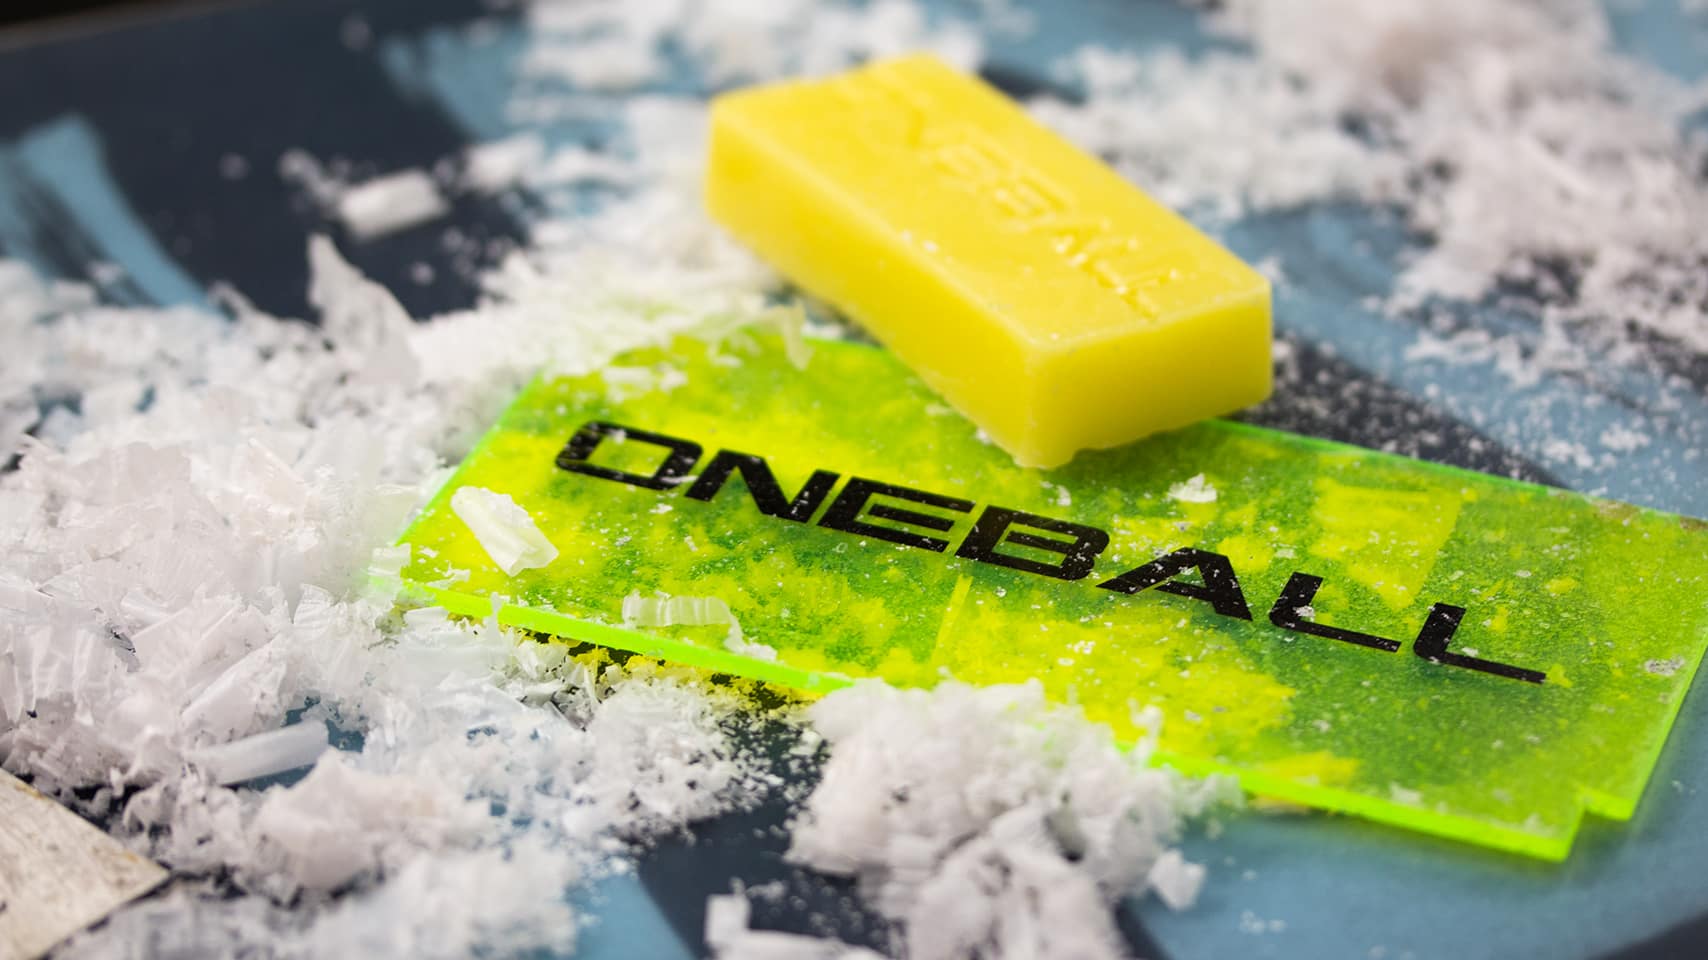
- Snowboard Wax
- Wax Scraper
- Buffing Pad or Brush
- Citrus Base Cleaner
- Towels or Rags
Shop All Snowboard Waxing Supplies
HOW TO WAX A SNOWBOARD: STEP BY STEP GUIDE
Waxing your board at home is simple and easy if you are set up with the right materials. To begin, you will want to make sure your board is at room temperature to ensure proper wax retention to the base. It is also important that your workspace is well ventilated and free of items that might get ruined from dripping hot wax or dry wax shavings.
- Step 1: Begin by applying a citrus base cleaner to the base of your snowboard with an old rag or paper towel. It is important to clean the base of all contaminates prior to applying fresh wax. Please note that edge tuning and base repair should be performed after cleaning the base and prior to waxing.
- Step 2: Once the base is clean of all contaminants and is dry to the touch, plug in your iron and set the temperature between 120-140° Fahrenheit. The iron should be hot enough to melt the wax but not too hot that it produces smoke. All irons are different so feel free to adjust the temperature if needed.
- Step 3: After your iron has heated up, hold iron vertically with the front of the iron facing down and apply the wax to the base of the iron. Begin dripping the wax evenly over the entire base with drips 1-2" apart from nose to tail and edge to edge. A good pattern to follow is applying drips along the edges first, then evenly across the center of the board.
- Step 4: Once the base is evenly covered with wax drippings, place the iron on the base and begin spreading the drips evenly across the base of your snowboard. It is important to keep the iron moving and never leave it in one spot for too long. Using back and forth motions, make sure the wax is spread up to the edges of the board as these areas dry out the fastest. If more wax is needed to cover certain areas, apply more wax using Step 3. Remember that less is more when it comes to the amount of wax you put on the base. An even layer of wax over the base of the whole board is all that is needed so don't go overboard as too much wax will be more work to remove when scrapping.
- Step 5: After evenly apply the wax to the base of the snowboard, turn your iron off and set it aside. Allow the board to cool for 10-20 minutes. This will ensure maximum wax retention as the pores of the base absorb the warm wax.
- Step 6: Once the base has cooled, take your scraper and begin removing the wax in a single direction with long even strokes from nose to tail. It is important to apply even pressure with the scraper to avoid damaging the base. We recommend holding the scraper at a 30-45° angle with two hands to ensure safe and adequate wax removal. If you are new to waxing, we recommend using a plastic scraper apposed to a metal edged one.
- Step 7: After scraping off the excess wax, your base should feel smooth to the touch. Stand the board on end and look down the base to ensure no lumps or wax was missed during the scraping process. It is also important to remove any wax that may be left of the metal edges of your board. If wax still remains repeat Step 6 until fully removed.
- Step 8: With all the excess wax removed, it is time to buff the base. Using a green Scotchbrite pad or a horsehair brush, firmly apply pressure and buff the base of your snowboard from nose to tail. This will remove a fine layer of wax that will look like dust and will ensure an ultra smooth finish.
- Step 9: With your snowboard base cleaned, waxed, and buffed, its time to clean up. Dispose of wax shaving in the trash and make sure no wax remains in your work station as old wax can easily become ingrained in rugs, carpets, and other surfaces and can be difficult to clean up later.
- Step 10: That's it! Grab your buddies and go rip!
TYPES OF SNOWBOARD WAX
WARM TEMP WAX
Warm temperature wax is a great choice if you ride in conditions with warmer temperatures or for those slushy spring days. Warm wax formulas perform best in (26° to 32° F +) or (-3° to 0° C +) temperatures.


COOL TEMP WAX
Cool temperature wax is designed to perform best in moderate winter conditions when the days are short and the powder is plentiful. Cool wax formulas provide the best glide in (28° to 21° F) or (-6° to -2° C) temperatures.


COLD TEMP WAX
Cold temperature wax is an excellent option if you ride in fridged conditions and want to make the most out of those crisp morning groomers or afternoon powder stashes. Cold wax formulas perform best in (23° to 12° F) or (-11° to -5° C) temperatures.


ALL TEMP WAX
All-temperature wax is ideal if you need one wax formula to perform in variable temperatures and snow conditions throughout the season. Available as a rub-on wax or traditional melt on, All-Temp wax will keep you sliding no matter what mother nature has in mind.


HOW TO WAX A SNOWBOARD LIKE A PRO
We teamed up with snowboard legend, Bryan Iguchi, to walk you through the best ways to clean, wax, scrape and buff your board for the best ride possible.
From beginners to experts, waxing is a necessary skill for any snowboarder that's looking to keep their board in the best shape possible throughout the winter and the offseason. Regular waxing can make any snowboard go faster and even last longer. From overall techniques to best practices, there are a lot of things to consider before putting the wax to the iron.
Sit back and let Bryan walk you through the tips, tricks, and techniques that he likes to use when waxing his snowboard for all-mountain riding. In a wide variety of conditions and terrain.
KEEP LEARNING
Still Have Questions?
We’re here to help. You can call, email, chat or IM during business hours seven days a week. Our customer service staff skates…a lot. They know their stuff and are happy to help you with all things skate.